Get an Extra 30% off Clearance Items With Code SAVE30 (click here)
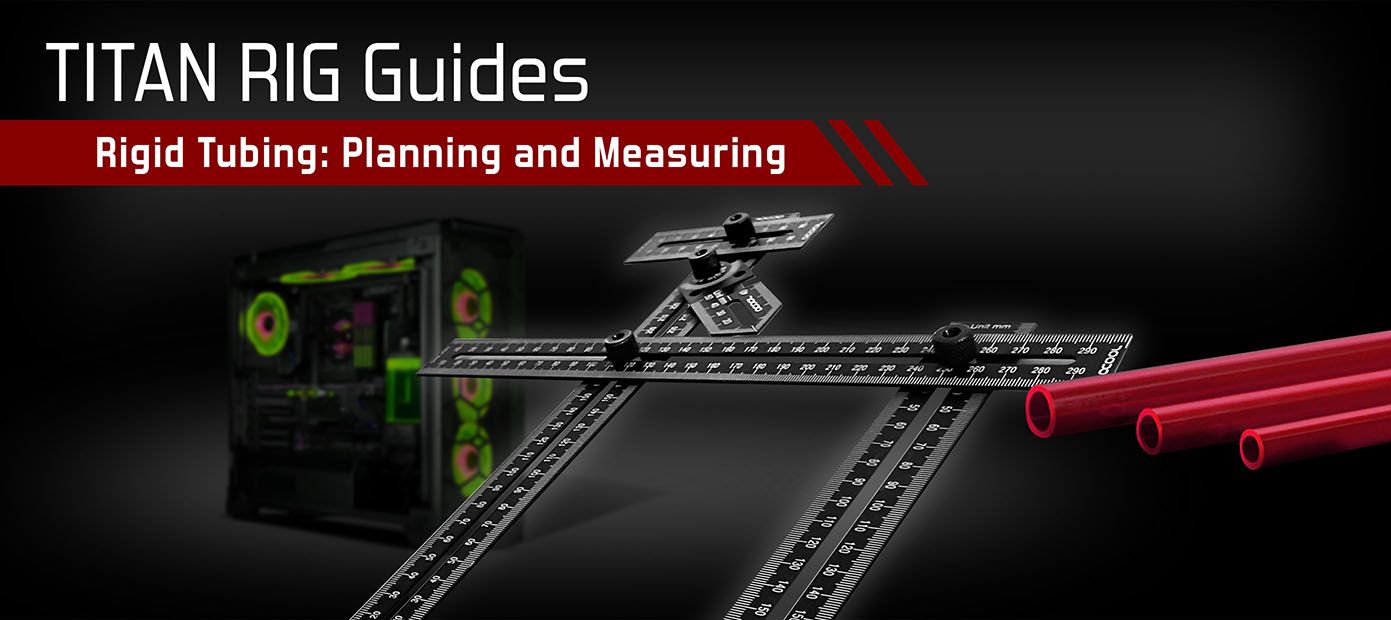
PC Guides - Hardline Tubing: Planning and Measuring
December 13, 2021 4
Designing a custom PC water cooling loop is one of the things that I enjoy most about this hobby. While there are always the same primary parts to it, there’s enough variation available to make each one something new. Trying new things and experimenting with different ways to use more common parts is a big part of the fun for me.
I built my first rigid tubing system for the modding competition at QuakeCon in 2014 and fell in love with it. It was a lot more difficult than working with flexible tubing obviously, but the end result was amazing.
Planning a rigid-tubing loop is more complicated than planning a flexible-tubing loop, for obvious reasons. Flexible tubing is easy to get along with – you tell it where to start and where to end and give it a vague idea on how to get there and it does it. It’s just as easy-going when it comes time to work on your system too – it gets out of your way when you need it to without complaint.
Rigid tubing is a lot more stubborn. It has to be forced to go where you want it to go, and it has to be told exactly how to do it. Of course, that’s why we use it – because it CAN follow a perfectly-dictated path and it will stay there when we’re done.
Once you make the decision to use rigid tubing in your build, youve got some more decisions to make.
Materials
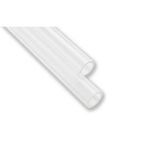
While most people in the hobby immediately picture acrylic or PETG tubing when I mention hard line, there are several more options when it comes to materials.
Acrylic and PETG
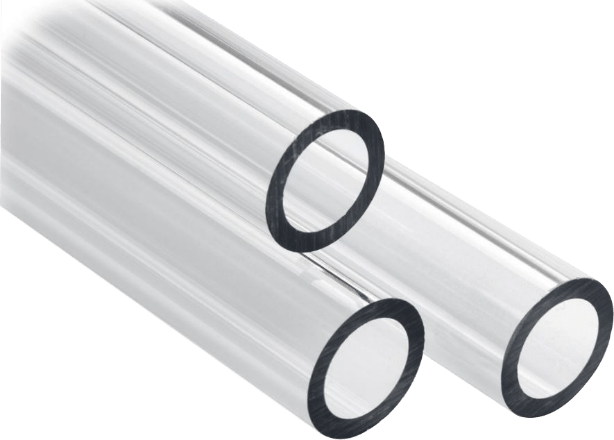
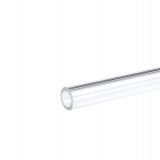
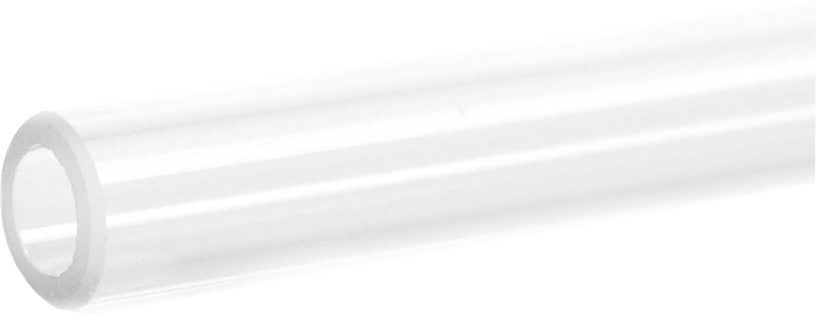
These are the most common materials used in rigid-tube water cooling loops. They’re inexpensive, easy to work with and look great when they’re used correctly.
Acrylic – Also known as PMMA, acrylic tube boasts an optical clarity greater than any other material availale, even glass. While it is more brittle than PETG, it’s a very strong material and its density makes it cut and chamfer more easily.
PETG - PETG has a lower melting point than acrylic, making it easier to bend. It’s soft enough that it can be cut cleanly with a pipe or tubing cutter, leaving a very clean edge. If it's cut with a saw, it leaves a rougher edge than acrylic but nothing that's not easily cleaned up with sandpaper. Its lower melting point can cause problems in a loop with excessively high water temperatures.
At these temperatures, PETG can soften enough to distort under the pressure of sealing o-rings, causing leaks. This problem is common enough that EKWB has developed a special insert for the tube to prevent it.
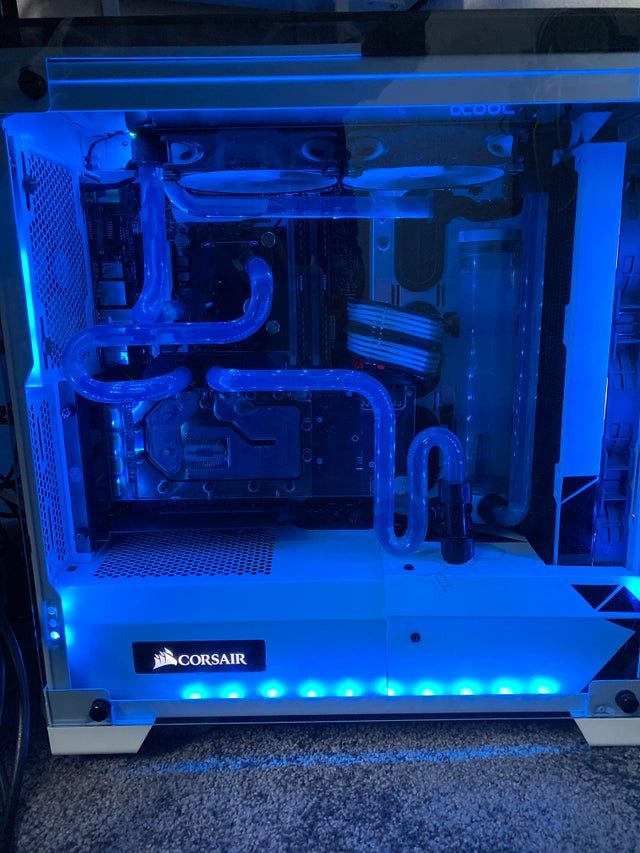
Image credit: redditor /u/itouchdennis
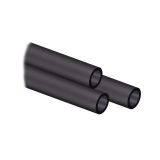
Copper
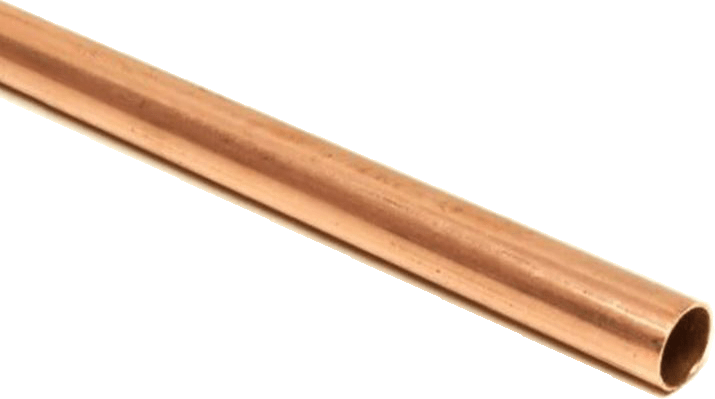
Copper tube comes in many different varieties, but for us there’s really only one factor to consider: flexibility.
“Hard” copper pipe is perfectly straight and isn’t meant to be bent or formed – it’s too rigid and will kink and deform as it bends.
“Soft” copper pipe bends easily with the right tools but comes in a roll, meaning that for perfect runs it has to be straightened before it can be bent.
Copper oxidizes quickly on contact with air, forming a dull patina at first and eventually a greenish-blue tint. If you want shiny copper in your build, you’ll need to polish it and then apply a clear topcoat of some kind to stop the oxidation.
Brass (bare) – Aside from its more golden color, raw brass tube behaves and works exactly like soft copper, including its tendency to oxidize. It’s much easier to find straight pieces of bendable raw brass tube.
Note: If you use any tubing from outside the PC cooling industry (brass tube is common with many hobbies), wall thickness becomes an important factor in bending it correctly.
Image credit: redditor /u/m_atlantic
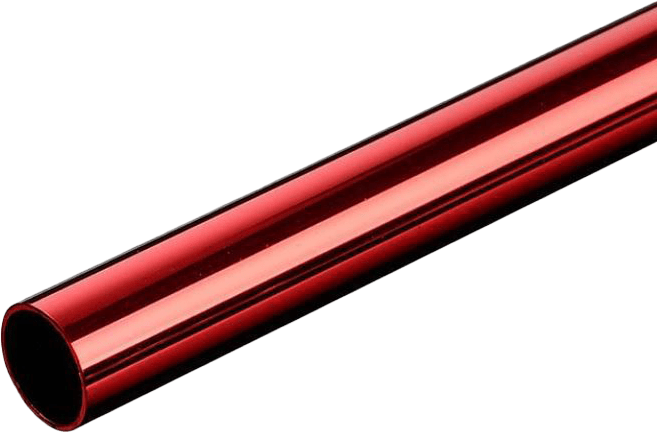
Plated metal tubing is available in a beautiful range of colors - reds, blues, different finishes of black, even chrome. Since the plating is applied after the tubing is formed, it cannot be bent at all without cracking the plating. It is available in pre-bent sections though.

Image credit: redditor /u/Twirlonmythumb
Glass tube can be cut to length with the right tools, and while it is possible to bend it yourself it’s not an easy task and requires exacting temperature control. Thankfully, pre-bent pieces of glass are also available.
Image credit: redditor /u/sakuralabs
Planning
What’s The Point?
How you plan your tubing runs depends on your end goal. Planning a good-looking system with curves and long tube runs that serve to frame the rest of your system will be a lot different than planning a system simply to move water as efficiently as possible.
Most people who choose to use rigid tubing do so for the look. It allows for long perfectly straight runs and curves that hold their shape without external supports or bracing. With a few feet of rigid tubing a PC’s appearance can change dramatically.
To Bend Or Not To Bend
Once your goal is decided, you need to decide if you’re going to bend your tubing at all. I’ve seen a lot of water loops that used nothing but straight runs and 90-degree fittings. This kind of setup is obviously easier, and it has a kind of industrial vibe that I like. Remember though: It’s also a lot more expensive. It may be your only option if you’ve decided to use glass tubing or straight runs of plated metal tube.
Planning where your tubing is going to go inside your PC is done the same way whether you bend it or not.
Bending: Hard Or Soft?
If you do decide to do your own bends, you have to decide what kind of bends to make. Personally I like big swooping curves when they can be applied to look good. Smaller curves are excellent as well. Many people use only 90-degree bends, making the bend radius as tight as possible. There’s nothing wrong with that at all if that’s what you like. This is *your* loop – make it for you. :)
The shape of the bends you want will play a factor in your route planning.
Visualize
When I’m planning a new water loop, I start with a picture of the PC I’m going to be plumbing. I get a shot of the open PC straight from the side so that I can see everything in it.
I put that image into my PC and use a drawing program like Inkscape or even MS Paint to give me a visual canvas to draw out my tubing ideas until I find one that I like.
Doing that can help find flaws in a plan you already have or help you discover a different route that works even better for you. Often I’ll put a loop together in the software, save it and start over with a different design – then compare them side by side when I’m done.

Our loop will include two radiators, pump/reservoir combo, VGA block and CPU block.
A loop plan like this doesn’t have to be fancy or even accurate at this point. You’re simply using the image of the PC to see what options will look or work best for your setup. At this point shaky squiggled lines are as useful as perfect curves and measured diameters.
For the sake of clarity, I made a vector image that shows the components I’m working with to scale and in position in the case I’m working in.

With this (or the picture above) and some simple software we can come up with any number of options for tube routing.
Options

This is the simplest possible tube routing for this setup. This loop is made to minimize expense and get the job done.


This loop is a little fancier, with the outlet from the video card wrapping around it and back to the CPU block. It’s all done with simple tight 90-degree bends, so it can be done without bending tube at all.

This is my loop of choice in this setup. Note that even here all the bends are simple bends – only one bend isn’t a 90-degree angle, and it’s really just two of those side by side. I really think curves like this make a loop look amazing.
Once you have a plan in mind for routing your tube, it’s time to bring it to life.
Measuring

Measuring for hard line tubing can be tricky. In some cases you can have a single piece of tube that has to bend and run in three different planes or more. Even if you’re not bending, you have to get the lengths of your straight runs just right. Measuring in those situations is a lot easier with the right tools and a little information.
Note: the following is based on the assumption that you’ll be making a loop that uses straight runs that are parallel to the lines of the case: vertical runs are straight up and down and horizontal runs are parallel to the top of the case. If you want to use angles in your tubing runs other than 0, 90 and 180 by all means go for it, but some adaptation of these tips will be needed.
In this post I’ll be using the Alphacool Eiskoffer Measuring Kit to get my numbers. This is an excellent set of tools – anodized aluminum, laser etched and paint filled, with eight straight rules, two angle indicators and a centered rule for measuring distance from the center of a port or fitting. It comes with screws, washers and nuts to assemble it any way you need it.

This particular tool isn’t necessary to get accurate measurements, but it certainly makes it easier.
When it comes time to do your measuring you can start anywhere you like. Every piece of tube in your loop is its own project so pick one and start there. I like to start with the easy ones and build up my confidence for the harder ones later.
This loop only has one run that has a single bend: from the upper radiator to the front radiator. The lower run from the pump to the VGA block looks like a single-bend run in my diagram, but the pump sits far enough back that a second bend will have to be made to avoid using a long extension to connect to it.
Single Bend Runs
Single-bend runs have a huge advantage over anything with multiple bends – you don’t have to be exact in your measurements. We’ll make our bends in a piece of tube that’s longer than it needs to be, so if you get the angle right and your bend is the size you want you can trim down the ends a little at a time until the length on each side of the bend is perfect. This over-length straight run tactic is used in every piece of tubing. Even circular and spiral runs have to have straight ends.
Here’s something to keep in mind during the entire measuring process: You’ll be measuring from point to point in one two-dimensional plane. Each portion of your tube between bends will need two measurements, and those two measurements will give you an angle – most commonly 90 degrees.
Bending tubing at a sharp 90-degree angle is impossible. You’ll always have an arc at the corner. The length of that arc is actually less than the length of the two legs making up the 90 we can’t achieve.

Bottom line: don’t worry about trying to measure your tube exactly to the length of a given arc. Measure it as though you’re making sharp 90-degree bends and you’ll end up with more than enough tube.
Here’s the area we need to measure to this simple run:

Looks easy enough: the distance from the port on the front radiator to a point directly below the port on the upper radiator. The issue comes when we try to measure into empty space and keep our measurements parallel to everything else. If one of your measurements is at an angle your lengths will be wrong.
Rigid tubing has become popular enough that water cooling brands are innovating new tools for us to make it easier. Alphacool is one of the top examples. They’ve got a simple solution for making sure that you’re measuring perfectly perpendicular to a port surface and in a perfectly straight line: a laser fitting.

Powered by a 4-pin Molex-type connector, this fitting is made to screw into a port or another fitting and project a perfectly straight and square line for tube placement.
I’ve found this tool best used in two ways: by using it to visually line up a ruler:

Or by using the dot it projects on the other end. If possible, I like to place a mark where this dot is with Sharpie, then turn off the fitting and put a piece of straight wire between the lens hole on the fitting and the mark on the other end.
The results are the same regardless: a perfect line to measure on.
If lasers seem like overkill, there are other ways to achieve the same results.
One of the best tools you can have for rigid tubing route planning is wire. A thick bendable wire will let you mock up tubing runs in any direction. This is the stuff I use, but any thick solid bendable wire will do.
You might wonder how to keep the wire in the exact center of the ports when measuring – don’t worry about it.
We have to have at least a short straight piece of tube at the end of our runs to go into the fitting. If you try to put a fitting on too close to a bend it can cause a gap on the outside of the curve and risks a leak at the o-ring there.

On a simple single 90-degree bend, if we measure off center of the fitting, the only thing it will cause is for one of the straight runs at the end of the tube to be the wrong length. Since we’re making them too long by design it won’t matter.
The extra straight length will let us adjust out any errors caused by our wire being off-center in the port.

Once the wire in place (centered in the port or not), you’ve got an actual physical line you can measure easily without worrying about it being out of square with the overall lines of the case.
These two measurements are all you need to make this bend either with a tight 90-degree curve or with a larger radius.
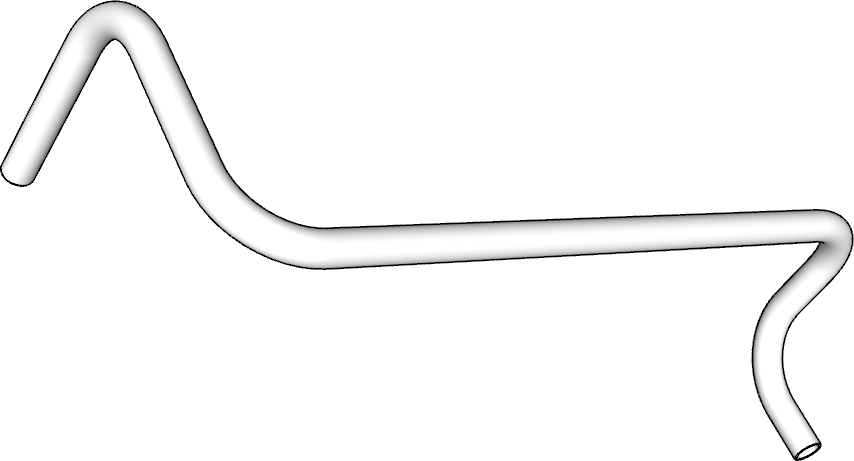
Multi-Bend Runs
When we get into tubing runs with more than one bend, the accuracy of our measurements gets a lot more important. We can’t trim down the part between the bends when we’re done.

Above is an example of a double-bend tube run.
In this case, X and Z are easy – we make them longer than needed. Y is the critical part.
Thankfully, unless you’re going for a very specific size on your arc, the math doesn’t matter.
Bending tube is usually done with jigs, mandrels or supports of some kind. These support one side of the tube, either inside or outside the bend. Which kind you’re using will determine the measurement you need to use.
We’ll assume we’re using a mandrel that supports the inside of the bend. That means that the key measurement we need here is the distance from the inside of the fitting opening on one side to the inside of the fitting opening on the other.

Since we already have one of these bends made, to make the next one at the correct distance we put the mandrel so that the inside supporting face is this distance from the inside face of our previous bend.

Since we’re not trying to get any specific degree of arc in this case, where that side of the tube ends up is the critical measurement.
More Than One Plane
That tube may have seemed easier since both bends were on the same XY plane, but multiple bends that run perpendicular to the first are handled the same way – you just have to turn the tubing 90 degrees before you bend it.
That rule applies no matter how many bends are in a piece of tube. The piece below runs from the front radiator to the inlet on the pump. It has four bends, each in a different plane than the one before it, and it will be measured and bent in the same way as the others. Until you get into angles other than 90 or 180 degrees, this method works.
Like the other bend, the straight parts can just be made longer than needed and cut to fit, but the run between the two bends is a critical measurement.
Using the steps above, one piece of tubing at a time, you’ll end up with this:

There are two things I can stress more than any other when you’re first starting out with bending rigid tubing.
1 - Don’t worry about pinpoint accuracy in any measurement that isn’t between two bends. You’ll be able to work out the differences on the straight ends until it’s perfect.
2 - (This one only applies to acrylic or PETG tubing) Buy twice as much tubing as you think you need. Take the first pieces and bend them. Any which way, it doesn’t matter. Get a feel for how hot they need to be to bend freely, how hot is too hot, how much length of the tube needs to be heated, how it feels when it bends, how long you have to let it cool to harden completely – all of this is critical to understand, but you can get it down using tubing never intended for your build.
Tubing is cheap. Experience is priceless.
Keep an eye on the blog for next week – I'm going to build the loop I laid out here and show off a bunch of different bending tools and some tips along the way.
4 Comment(s)
Load more comments
Recent Posts